Divi Medical Ecommerce
Filled to the brim with countless sales-driven elements, the Divi Medical Ecommerce child theme is perfect for brands looking to sell products and generate profits online. Fully set up and integrated with WooCommerce, Divi Medical Ecommerce has taken care of every step of the customer purchase journey, leaving brands to merely enter their original content and product imagery to begin selling products online. With its beautiful, eye-catching design and engaging sales-driven elements, this feature-rich WooCommerce theme helps businesses create an enticing shopping experience that’ll keep customers coming back.
Quick Links
FAQ
- What are the child theme server requirements?
- What is demo data and how it works?
- Where to find help?
- What is a child theme and why should I use one?
- What is the difference between WP Zone's premium child themes and a standard (blank) child theme?
- What do I get when I buy a child theme?
- How do I choose the right child theme for my website?
- Do your child themes only work for one industry?
- I don’t know how to code. Will I be able to customize my child theme?
- I’m looking for a standard, blank Divi child theme. How can I make one of those?
- What about support, licensing, and updates?
- Are child themes included in your membership?
Whenever you update child theme, all of the files are updated so if you have made any changes to these files, those changes will be erased. We don't recommend making any changes to the child theme files.
Requirements
Before you can install and use our child theme, you need to ensure that you have the proper environment setup. The requirements are provided here
Installing the child theme
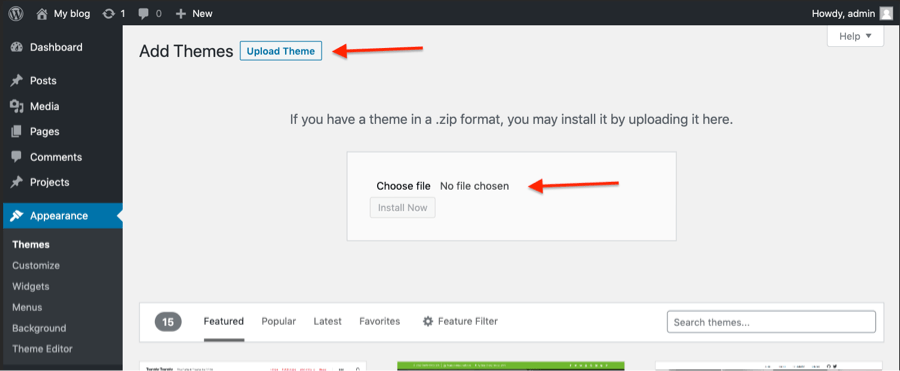
Please upload the Divi Medical Ecommerce Child Theme to you your self-hosted WordPress website. Make sure the Divi theme is already installed and activated.
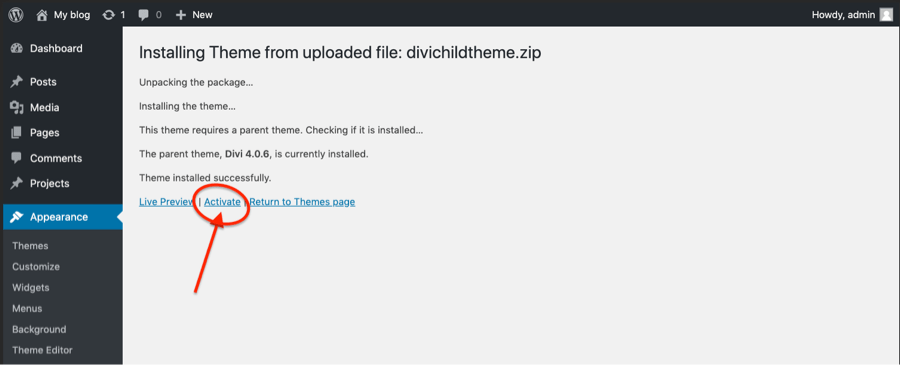
After you've activated the theme you need to click on the "Divi Medical" menu item. Click on "Begin installing plugins" for the next step of the configuration process.
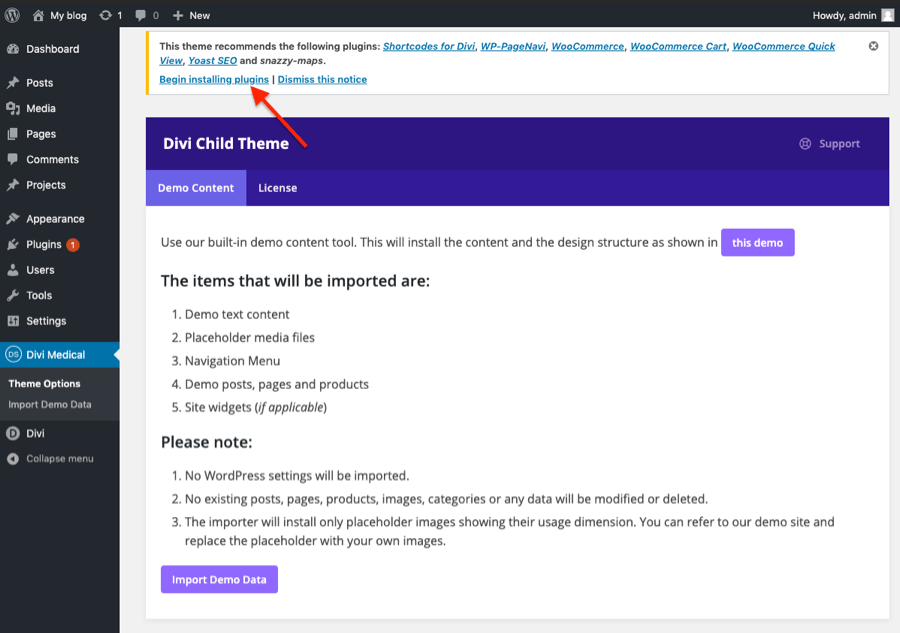
Installing the suggested plugins
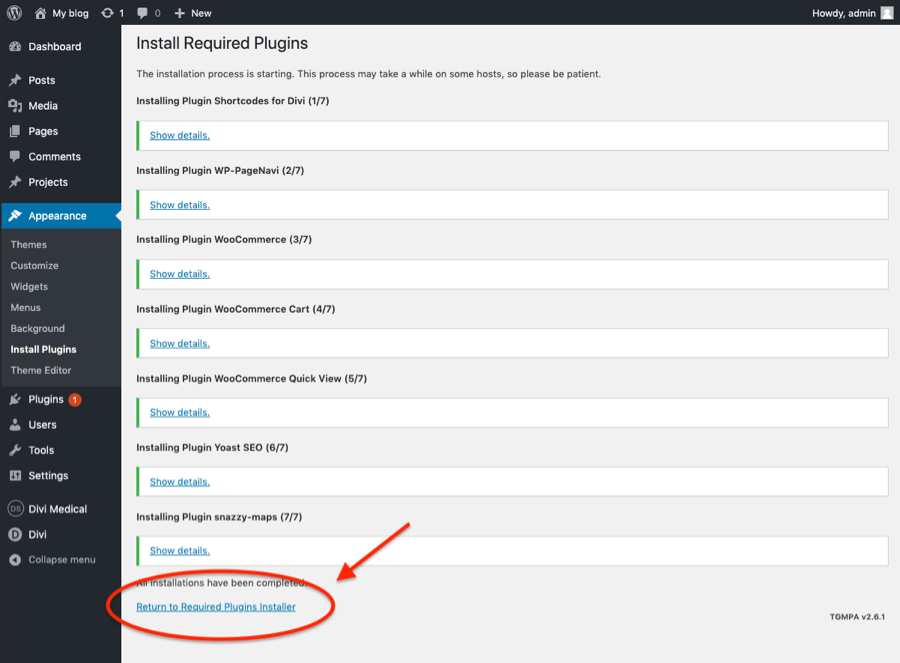
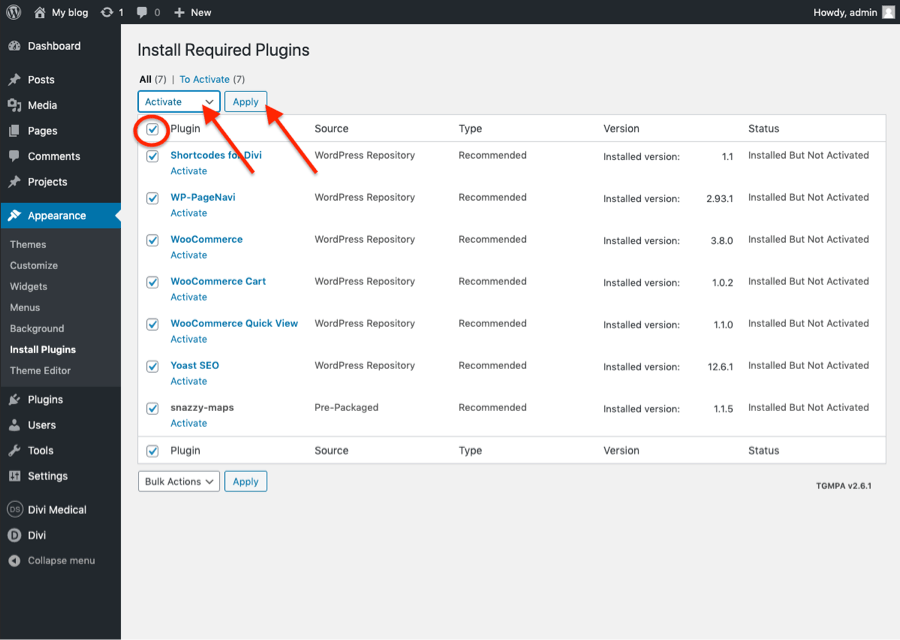
Once the theme is installed on your site, the system will suggest you install & activate plugins. Please click the Plugin Names or Begin Installing Plugins link on the dashboard screen and start the process. Please be advised that this Divi eCommerce Child Theme comes with WooCommerce shop as one of its layouts. If you choose not to install the suggested Plugin(s), the shop section along with the related images and content will not be imported and you may see a message on the import page that some images have not been imported successfully. Please ignore the message. Once all plugins have been installed, Return to the Installer in order to activate.

After Activation, Click on the "Return to the Dashboard" link.
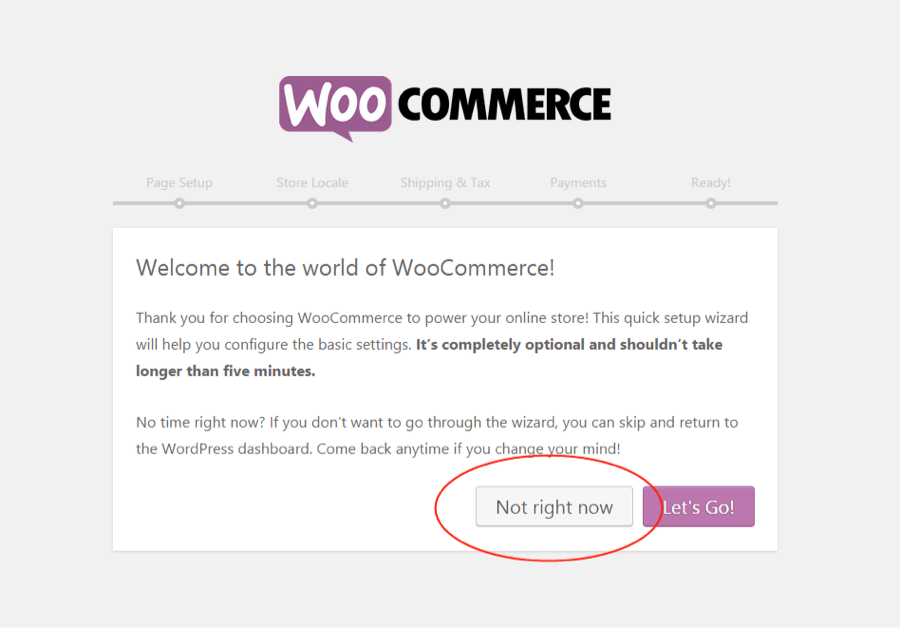
When you click "return to the Dashboard", WordPress will automatically take you to WooCommerce’s Setup Wizard. Please click the "Not right now" button. We will be Setting up the shop pages manually later on.
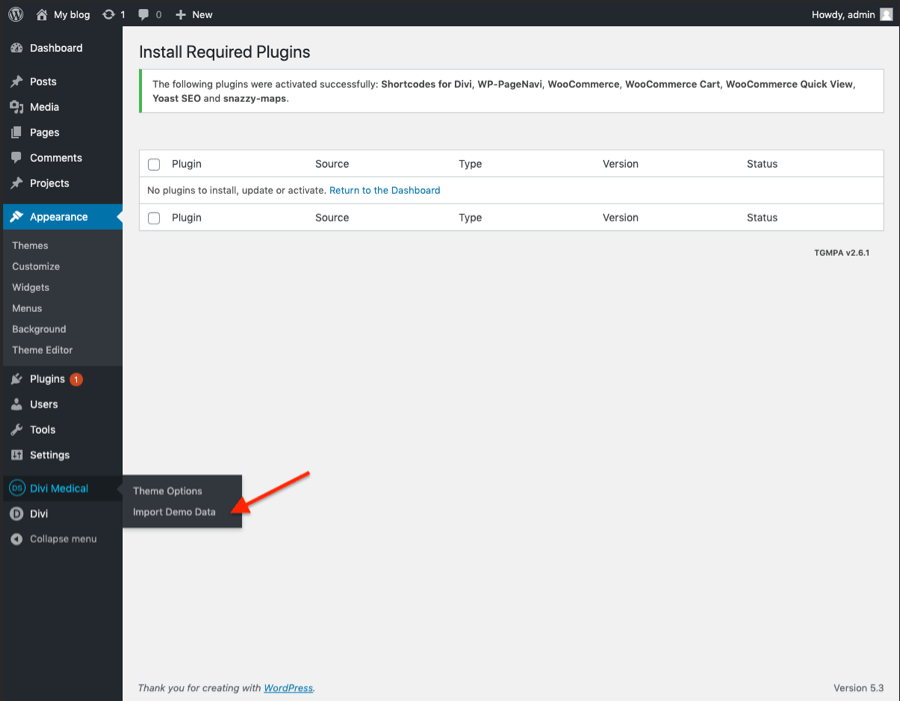
Import Demo Data
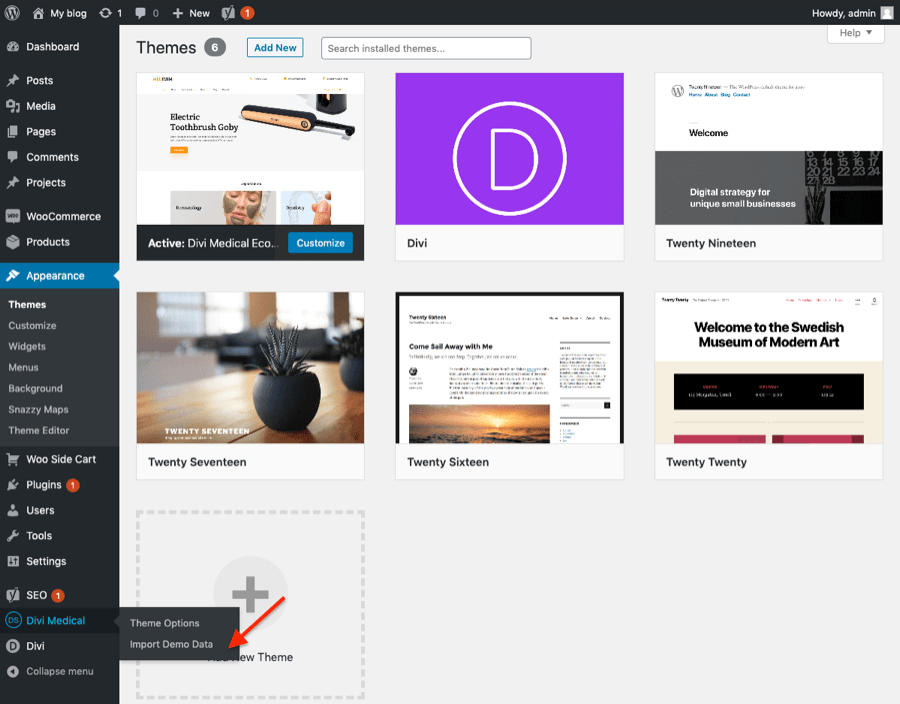
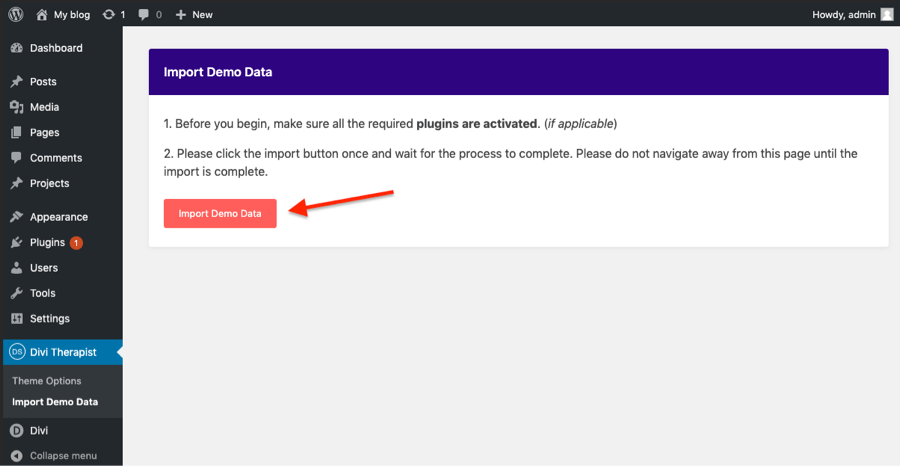
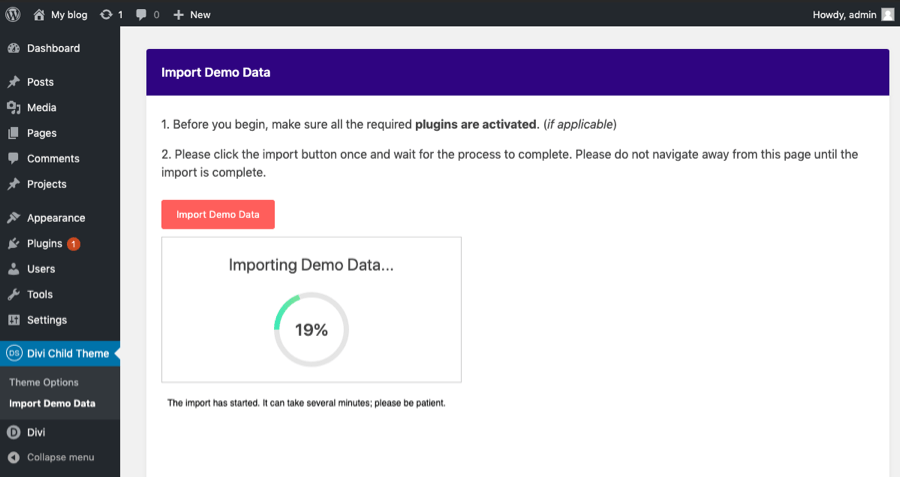
From the WordPress Dashboard go to the newly added ‘Divi Medical Ecommerce’ tab on the left admin panel. Under the ‘Divi Medical Ecommerce’ menu, please click on ‘Import Demo Data’ only once. Please be patient while the demo data of the Divi Medical Ecommerce child theme is imported into your site.
Setup WooCommerce
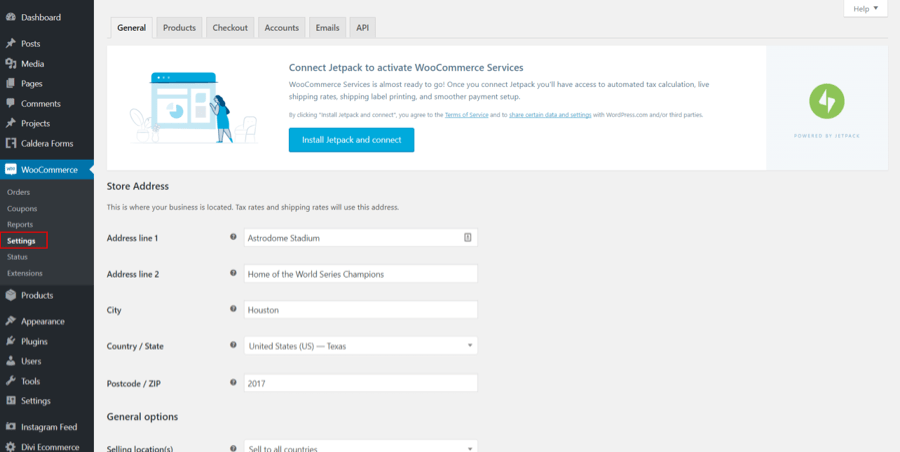
Navigate to WooCommerce >>Settings and in the General Tab fill in the usual information for your business and save your changes:
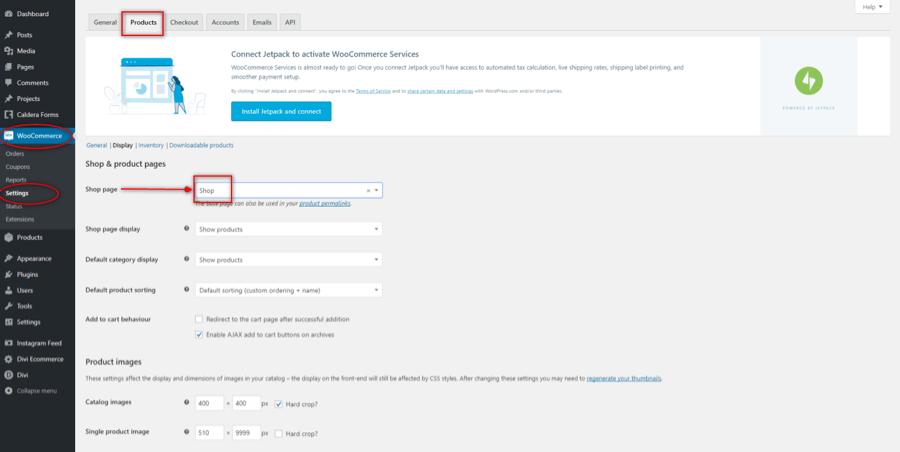
Next, click on the Products tab and set the Shop page to "Shop" by selecting it from the drop-down menu. Save Changes.
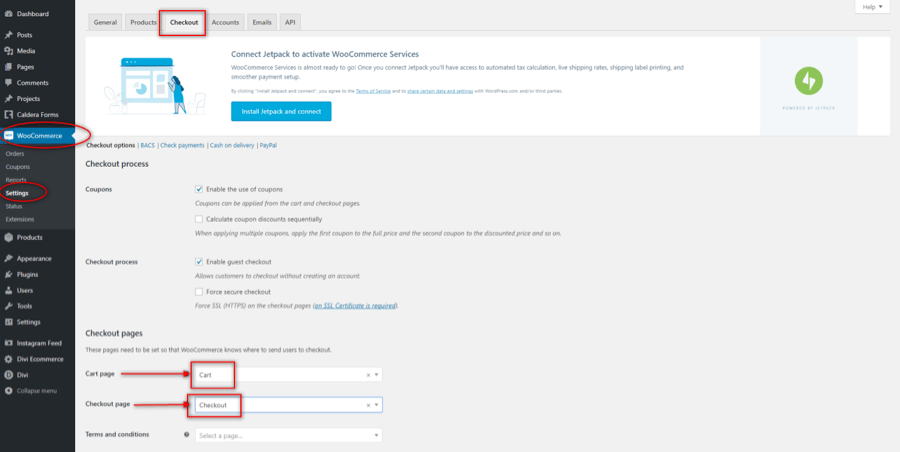
Click on the Checkout tab and set the Cart and Checkout pages to "Cart" and "Checkout" respectively. Save your changes.
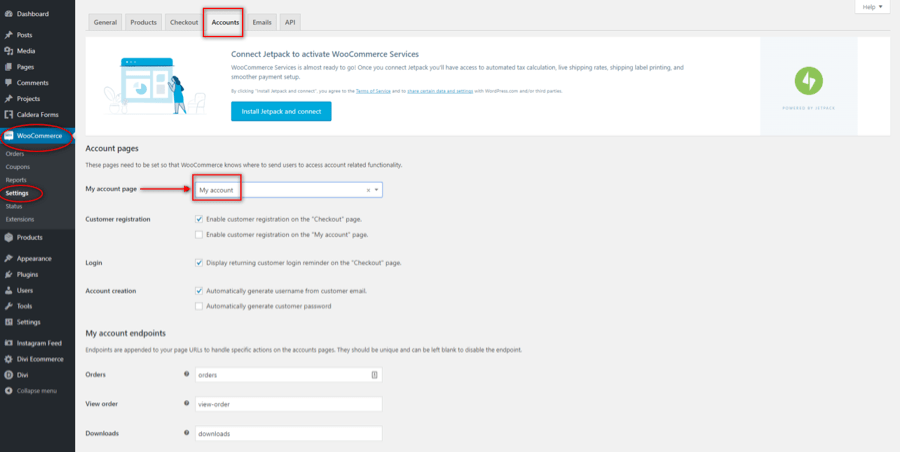
Finally, on the accounts tab set the My account page to "My account" and save your changes.
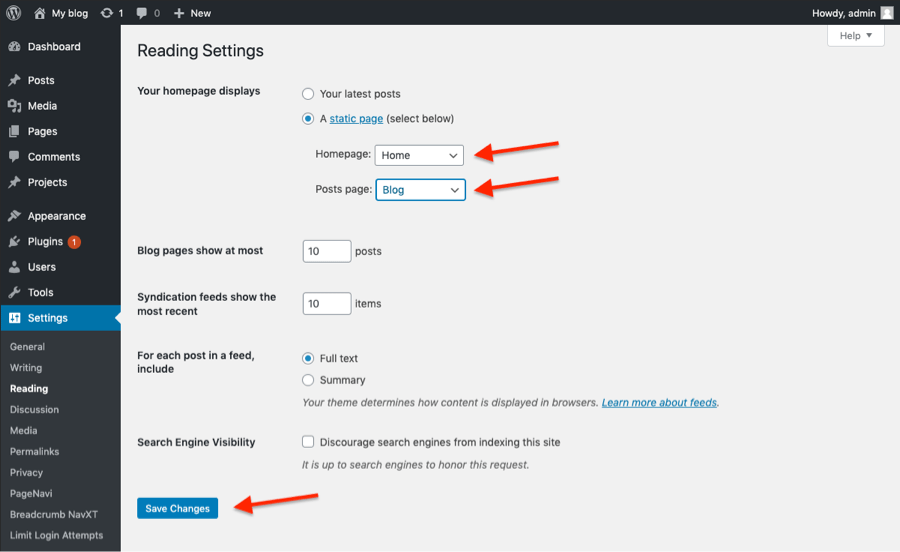
Set homepage and blog page
Go to Setttings > Reading.
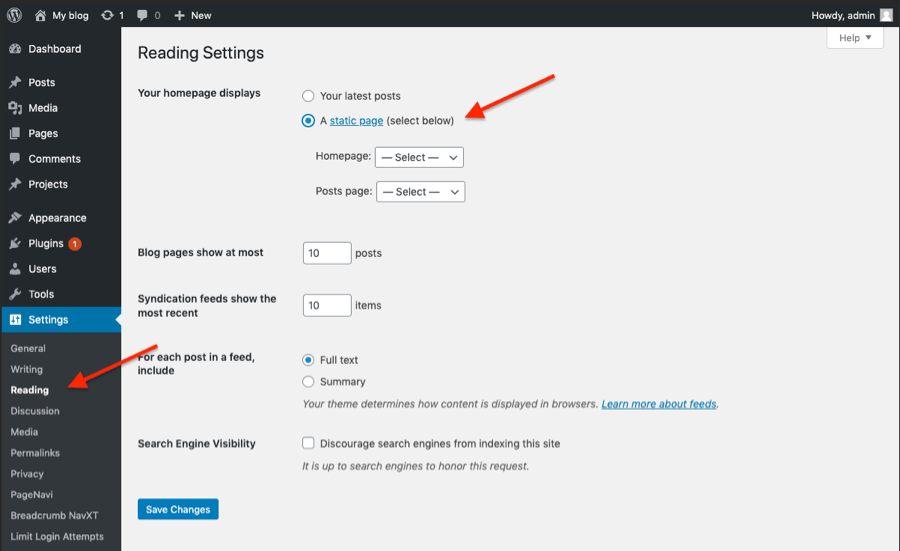
Under the Homepage displays option choose Homepage. Below that choose the Blog page to be used as the front page for your blog posts. Save your changes, and load your site to review changes.
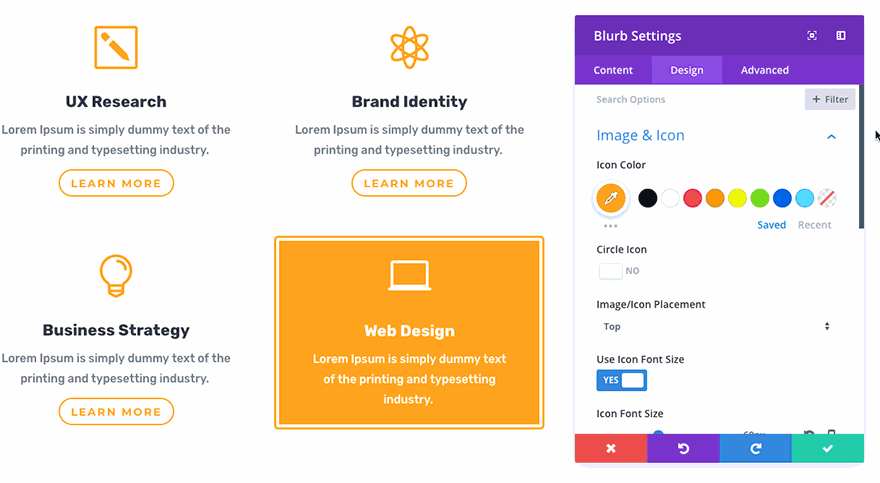
Customize child theme colors
All colors are set in the Divi Modules and in the Theme Customizer.
- For bulk color editing colors in the Divi Builder, use find and replace color function. It’s easy and fast to use. Follow this tutorial: https://www.elegantthemes.com/blog/theme-releases/find-and-replace
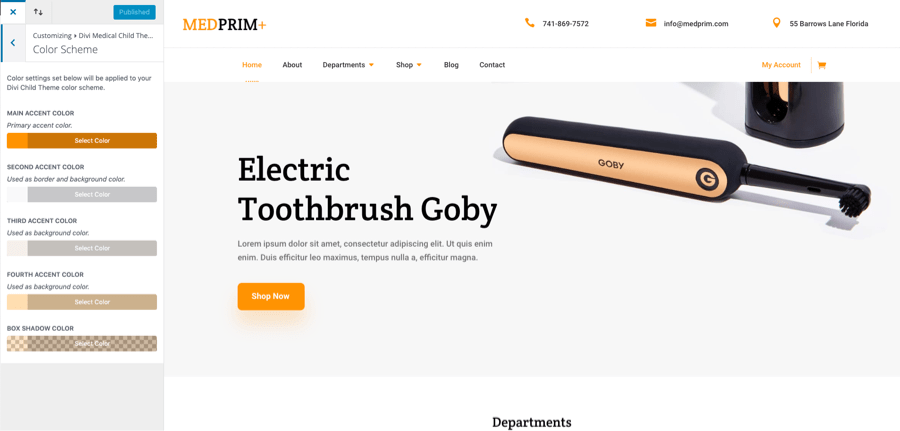
- Other colors settings you can find in the Theme Customizer. Follow the list below. To Change Theme Accent: General Settings > Layout Settings > Theme Accent Color To Change Primary and Secondary color accents: Divi Medical Ecommerce Settings > Color Scheme To Change Buttons Color: Buttons > Button Style and Hover Style To Change Link Color: General Settings > Typography > Body Link Color
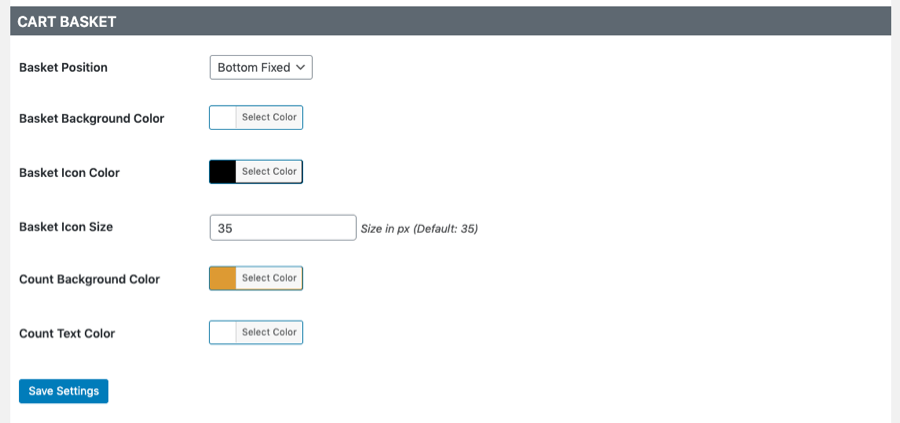
To Change Cart Color: Dashboard > Woo Side Cart > Style > Cart Basket
Snazzy Map Plugin
- An API key is required in order to use the Maps Module. For more information, visit this page: https://www.elegantthemes.com/documentation/divi/map/
- To add custom style, head over to Snazzy Maps plugin, click explore and choose the style you want to use and enable it.
- If you want to use the style from demo page:
- create an account on Snazzy Map website: https://snazzymaps.com/. It’s free.
- Add this map to your favorites : https://snazzymaps.com/style/40735/artificial-reason-orange2
- Generate and copy API from here: https://snazzymaps.com/account/developer
- Head over to Wordpress dashboard -> Appearance -> Snazzy Map -> Settings and paste API key.
- Click explore and filter styles by Favorites.
- You should be able to see the map you added to favorite via Snazzy Map Website.
- Click enable.
- That’s it!
Yoast SEO and Breadcrumbs
To enable and set-up the Yoast Breadcrumbs go to SEO > Search Appearance > Breadcrumbs and enable the breadcrumbs. Configure the settings to your preference. To display Breadcrumbs, use this shortcode: [wpseo_breadcrumb] Read more here: https://kb.yoast.com/kb/implement-wordpress-seo-breadcrumbs/

Set menu in the theme builder
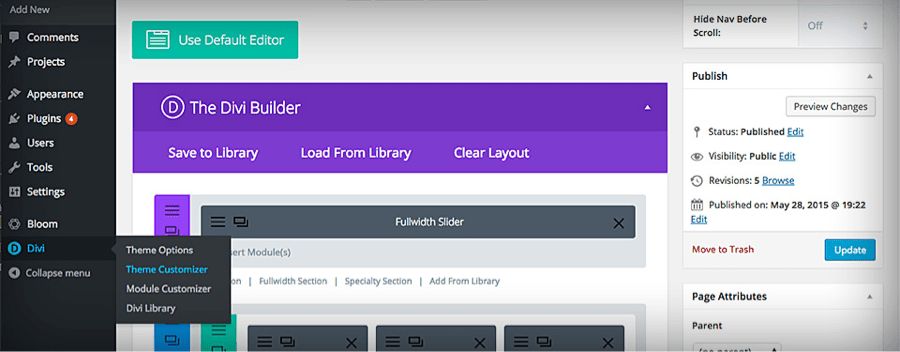
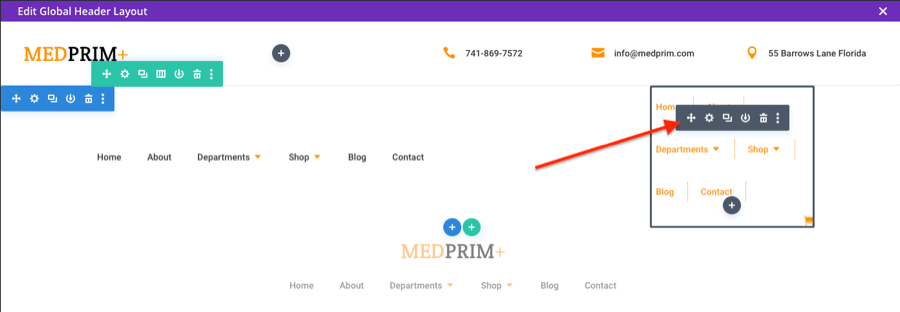
Go to the Divi Theme Builder and click Edit on Global Header.

Click on the Gear Icon to Edit Menu Module
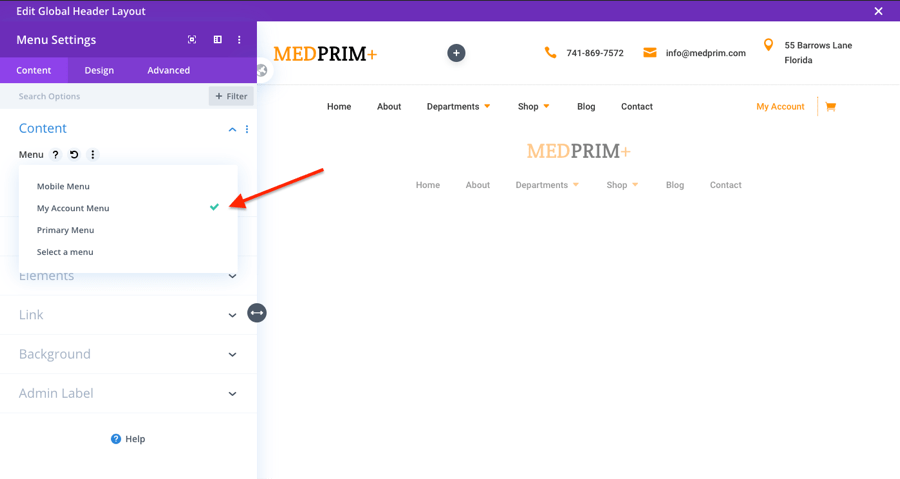
Click My Account Menu and click Save
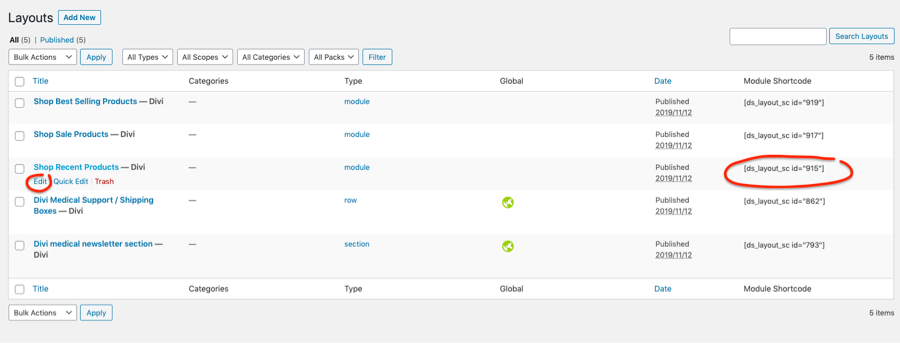
How to change product displayed in the tab
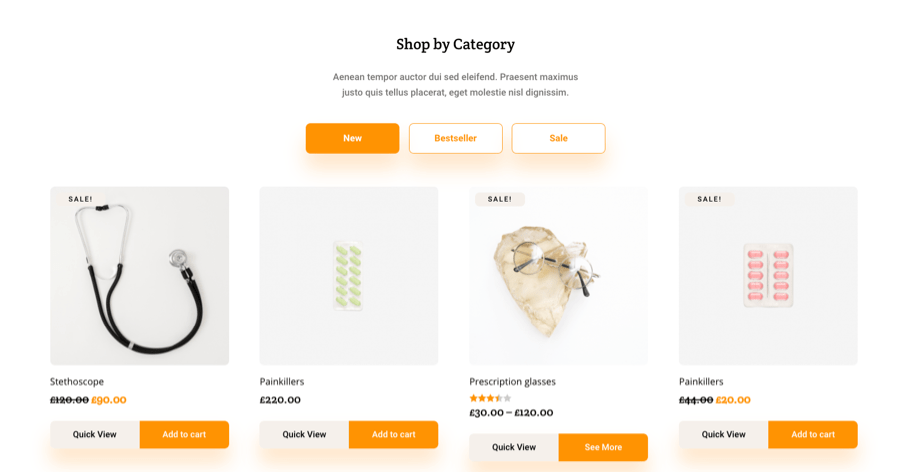
In the Divi Builder edit the Tab section.
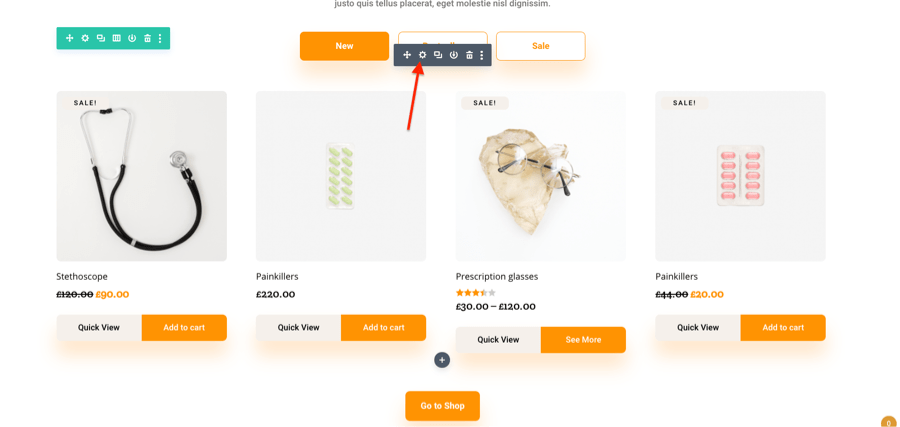
Open tab.
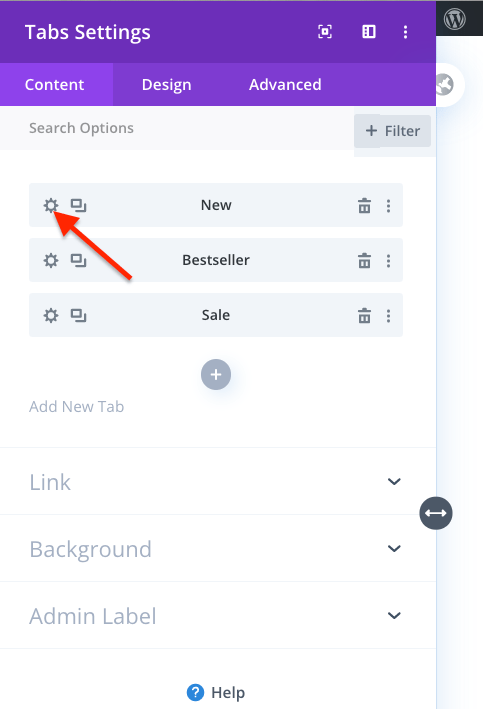
You find a shortcode created by Divi Shortcodes. It displays a Layout Saved in the Divi Library.
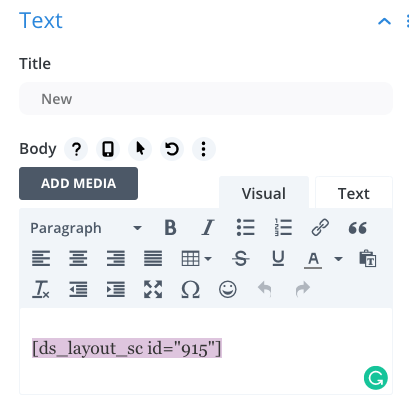
Head over to the Divi Library and find the layout with this shortcode. Click Edit to make changes.